


This blog entry got me thinking about installing a touchscreen like this in the wall. Here I show you how I solved this in terms of hardware and software.
(A little tip on the side: I have also already installed a 13″ display: https://jojokorpi.ddns.net/wordpress/index.php/2021/08/17/13-touchscreen-wandeinbau/)
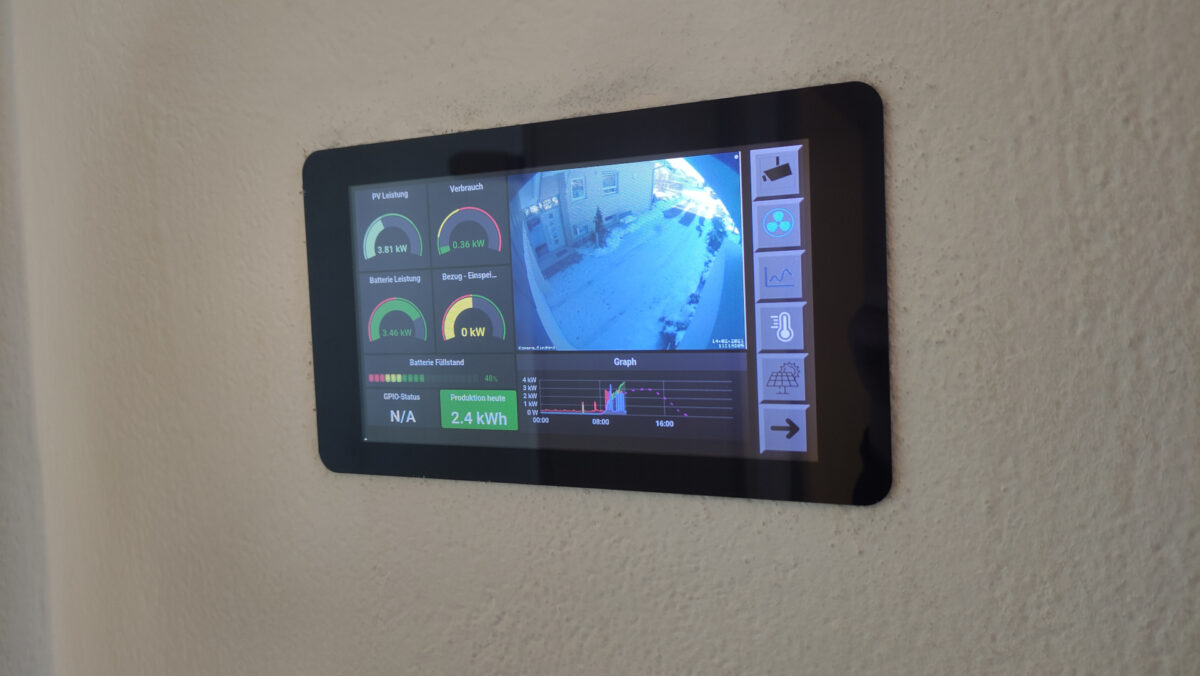
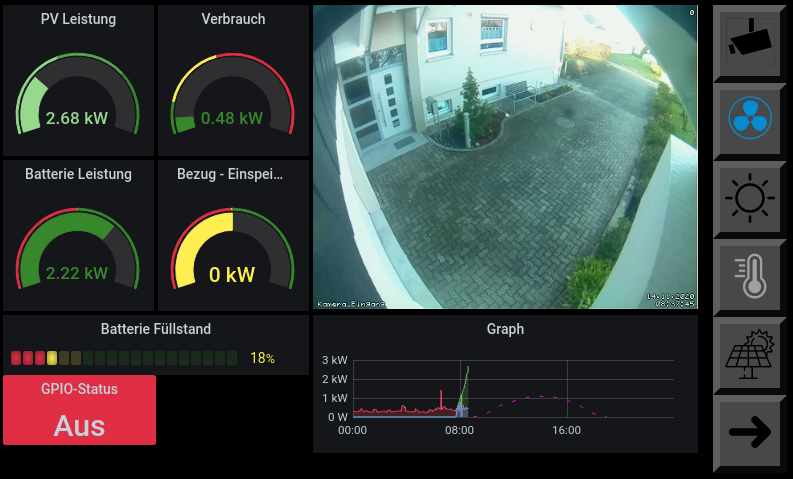
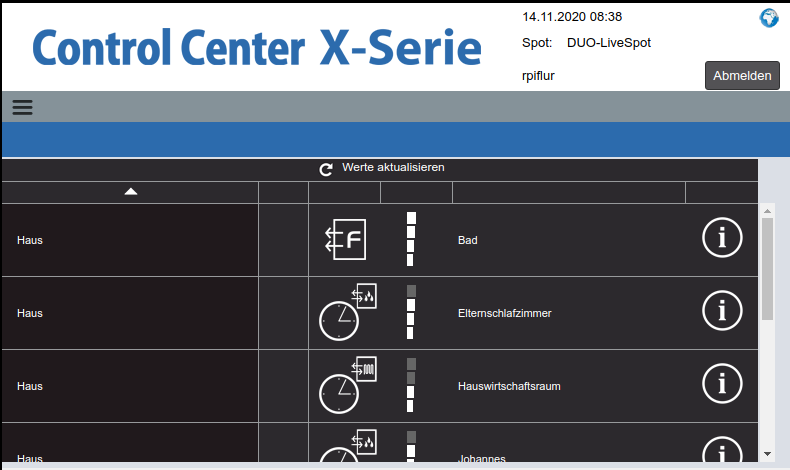
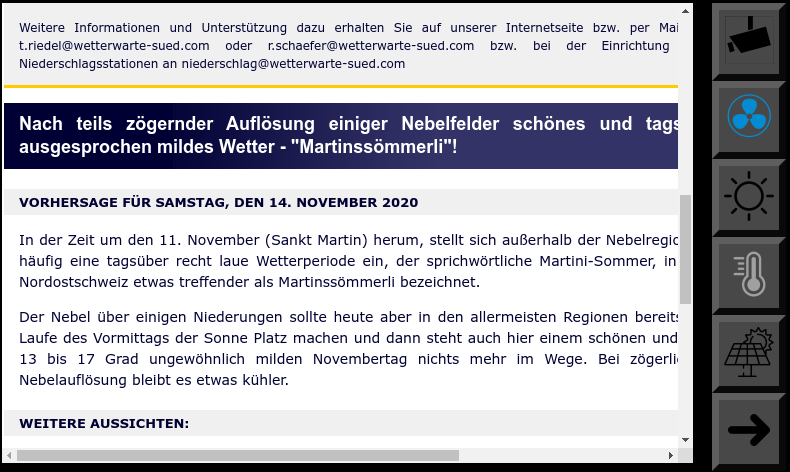
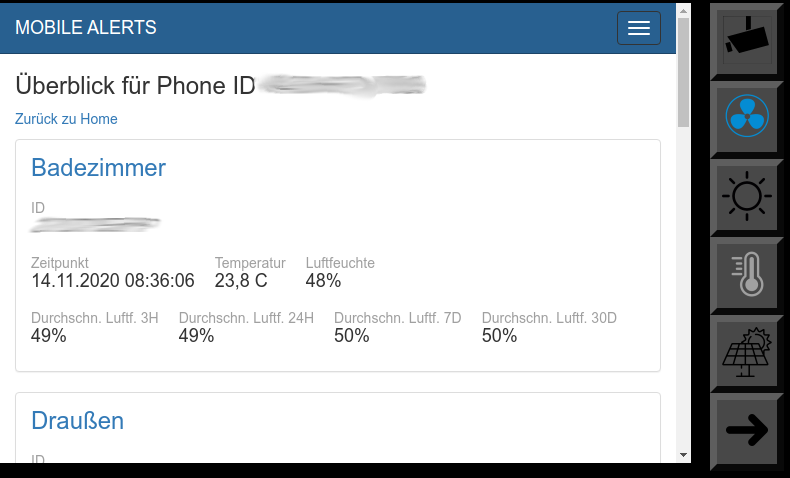
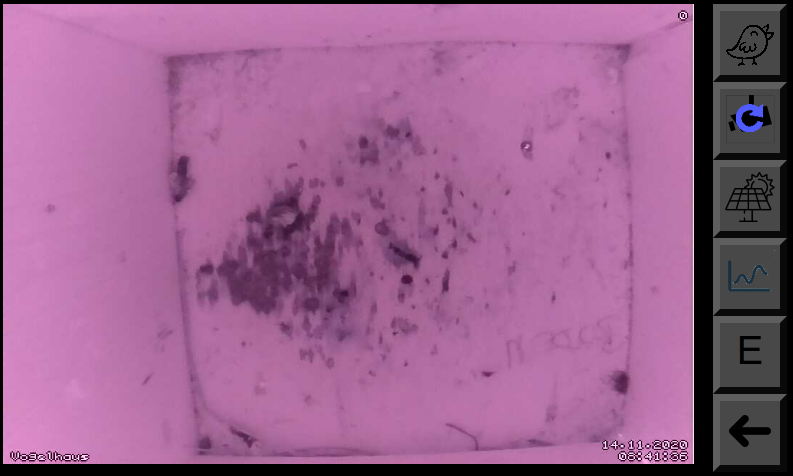
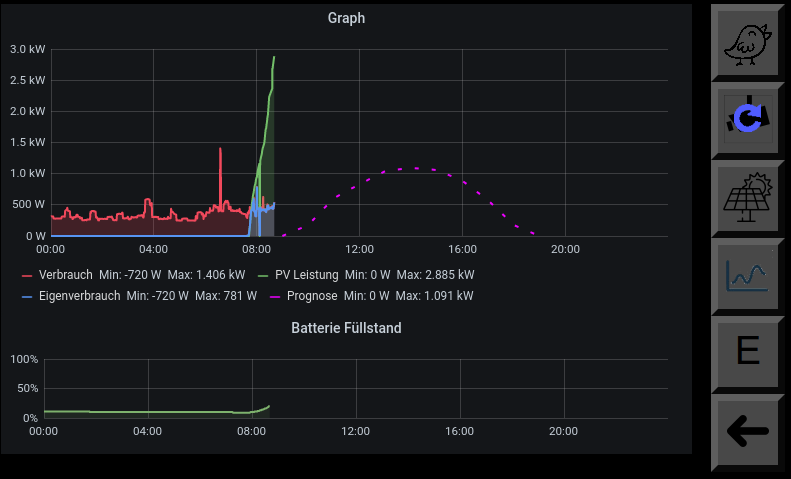
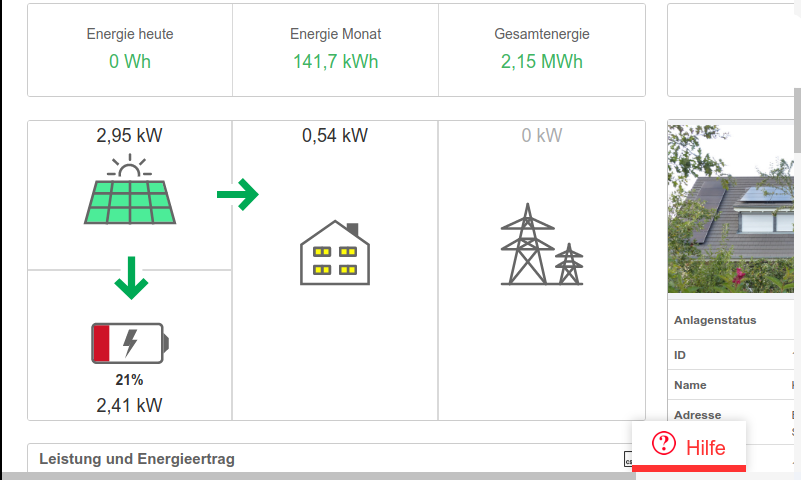
With the display, I can view the image from the surveillance camera, control the ventilation system, monitor the production of the solar system, read out My Mobile Alerts sensors and read the weather report.
Hardware
Shopping list:
- A power supply unit, I use this one
- A case
- Neodym Magnets
- A RaspberryPi (Since the project is a bit older, I used a RaspberryPi 3, but a RaspberryPi 4 would be better).
- A SD Card
- The Touchscreen
- If the touchscreen is to turn on when there is movement, a motion sensor
- Some Cables
Installation
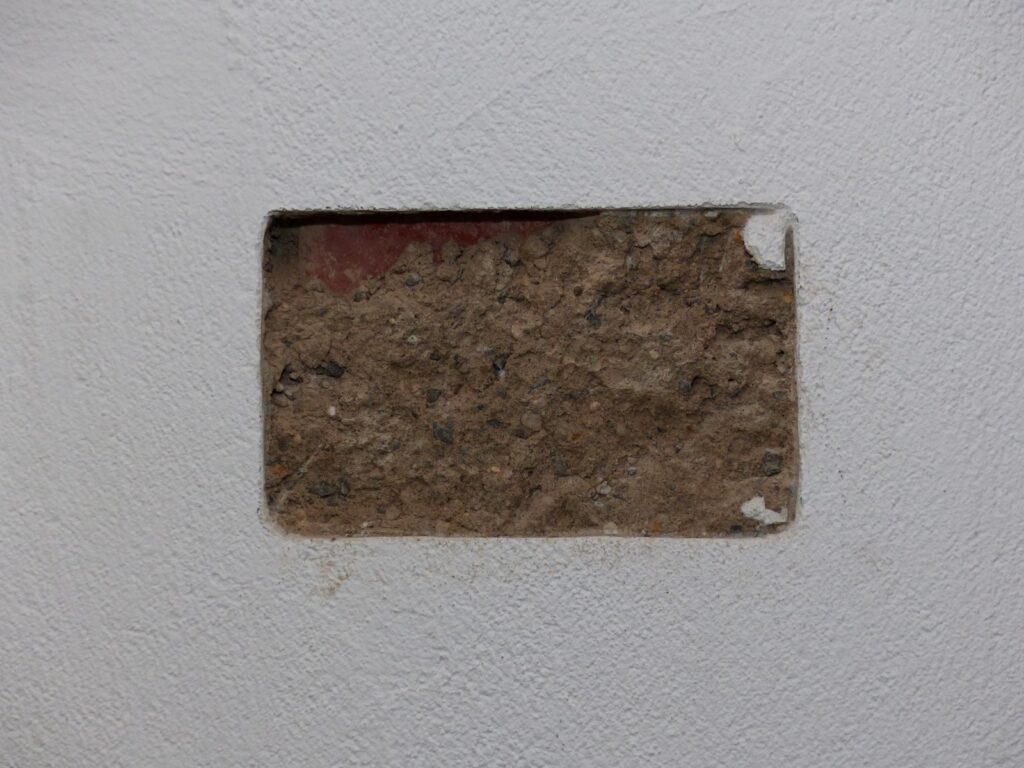
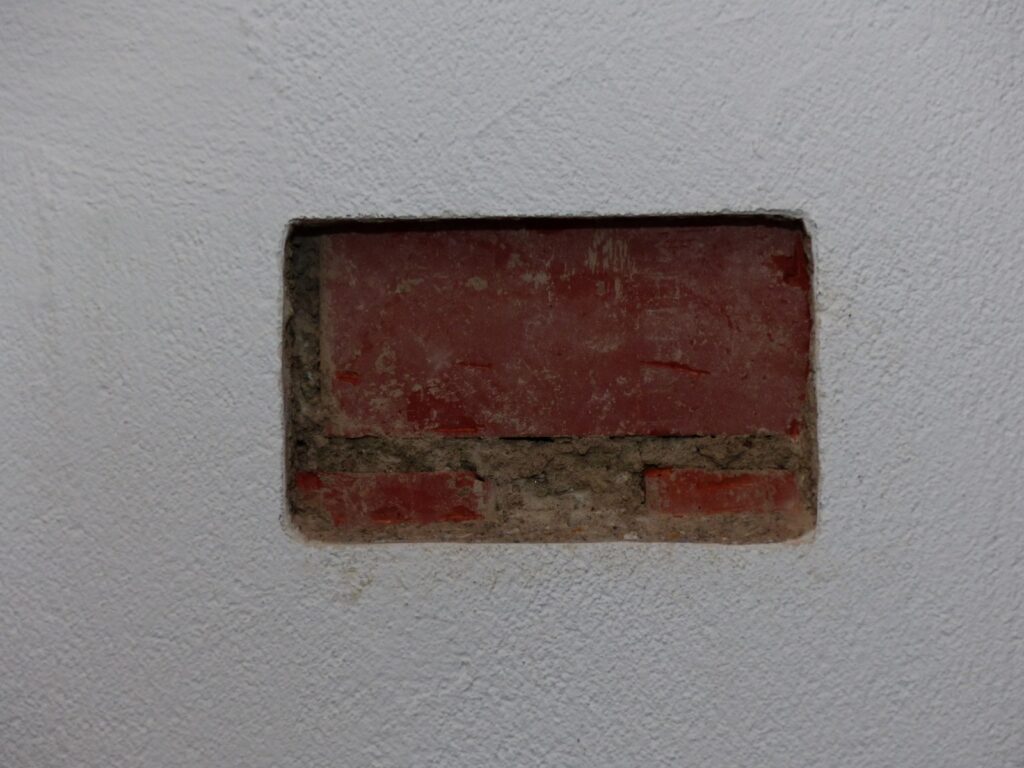
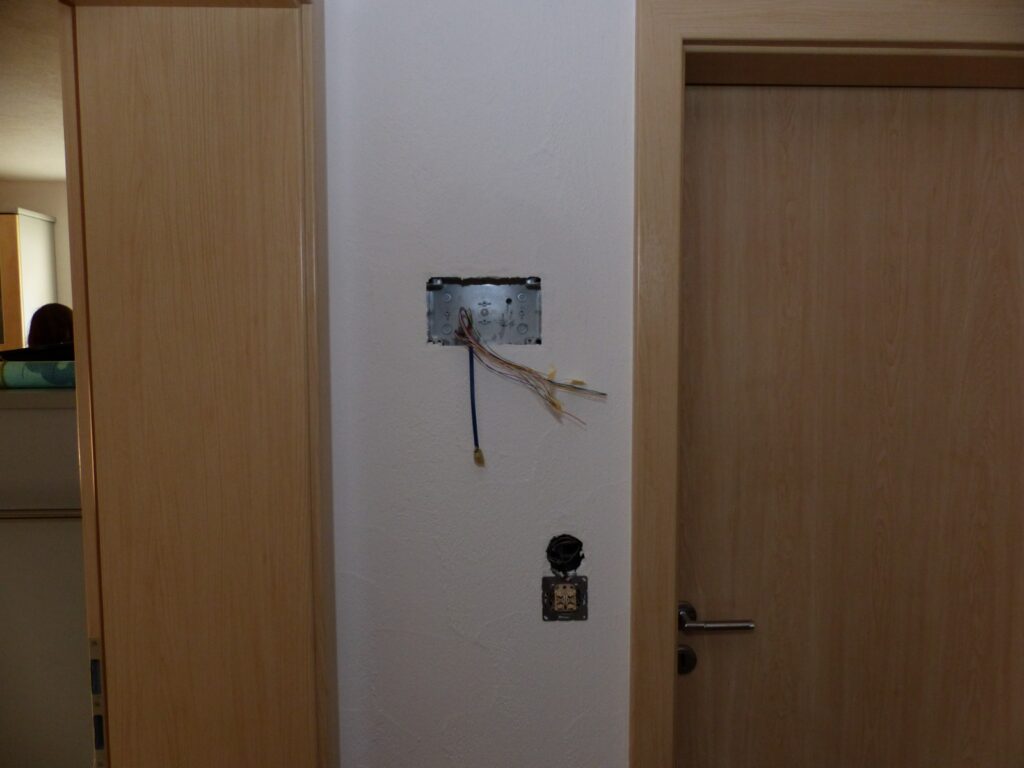
There is not much exciting to say about the installation of the enclosure. Make a hole in the wall, slide the enclosure in and fix it in place. I then installed screws in the enclosure, which are important later for mounting with the magnets.
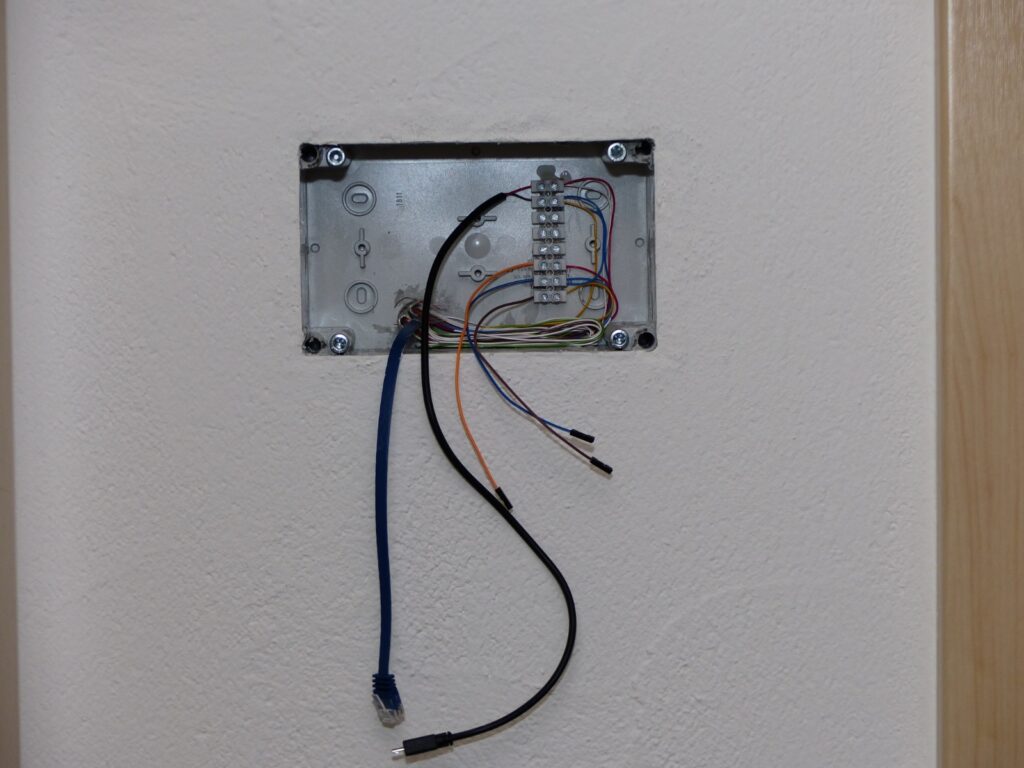
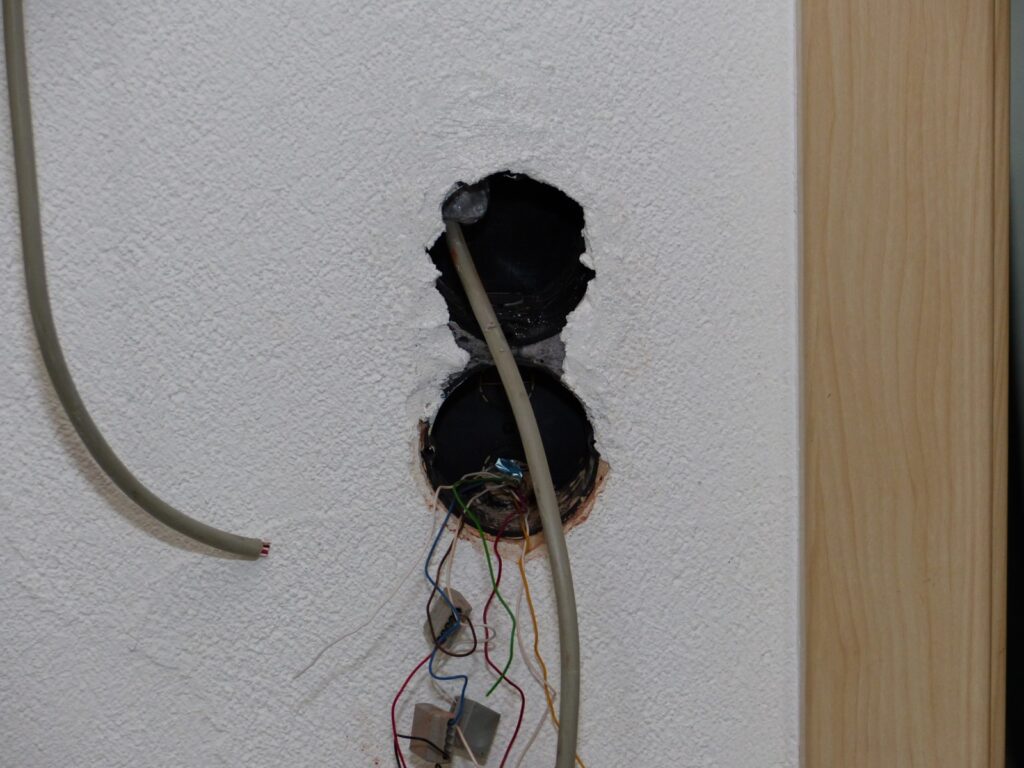
The power supply unit and a LAN socket are located in the basement directly under the display. From there, a cable goes to the power supply and a LAN cable to the top. For the cabling, I attached a luster terminal in the housing to connect the cables coming from the motion detector and the power supply with jumper cables that can later be plugged into the GPIO of the Raspberry.
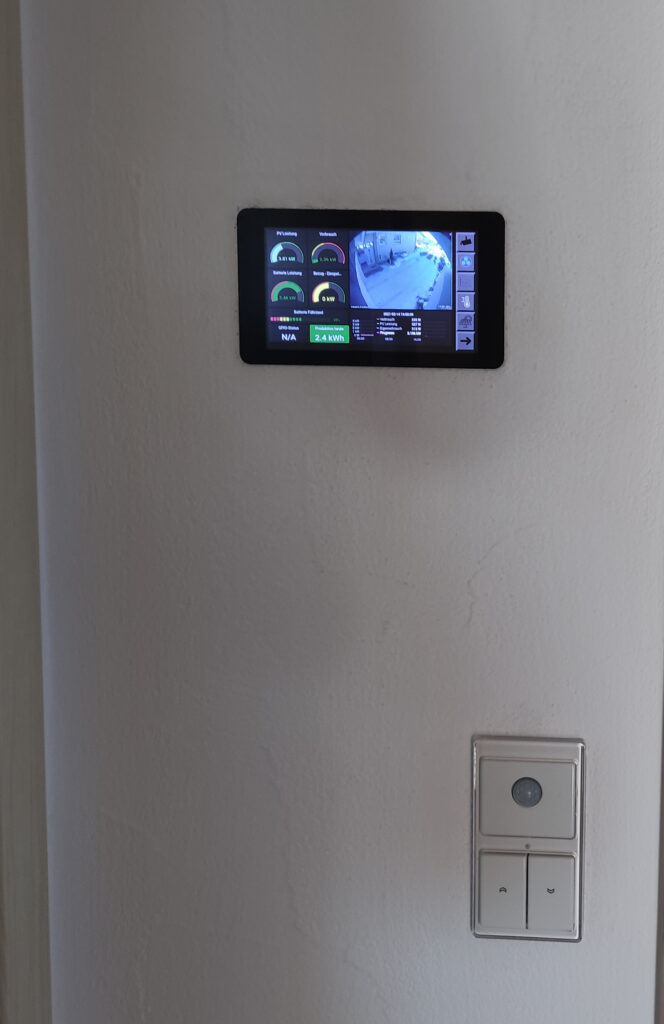
To fix the display with Raspberry in the housing, you can then simply place 4 magnets on the screws, connect all cables to the Raspberry and insert the display into the housing. The magnets will hold it so that it won’t fall out by itself, but you can get it out with a little power.
I have also installed a motion sensor. This is in a blind cover under the display. It is also connected to the Raspberry at pin 10 with a cable.

Software
Script for motion sensor
I use the following Python script so that I can switch the display on and off with the motion detector:
|
1 2 3 4 5 6 7 8 9 10 11 12 13 14 15 16 17 18 19 20 21 22 23 |
import sys from RPi import GPIO import os from time import * GPIO.setmode(GPIO.BOARD) GPIO.setup(10, GPIO.IN, pull_up_down=GPIO.PUD_DOWN) print("Starte Bildschirm.py...") def motion(pin): print(asctime(),) os.system('echo 0 > /sys/class/backlight/rpi_backlight/bl_power') sleep(30) os.system('echo 1 > /sys/class/backlight/rpi_backlight/bl_power') return GPIO.add_event_detect(10, GPIO.RISING) GPIO.add_event_callback(10, motion) try: while True: sleep(0.5) except KeyboardInterrupt: GPIO.cleanup() sys.exit() |
Perhaps rights also need to be adjusted:
sudo chmod 644 /sys/class/backlight/rpi_backlight/bl_power
Graphical Interface
I use a self-written HTML page as the graphical user interface.

Leave a Reply